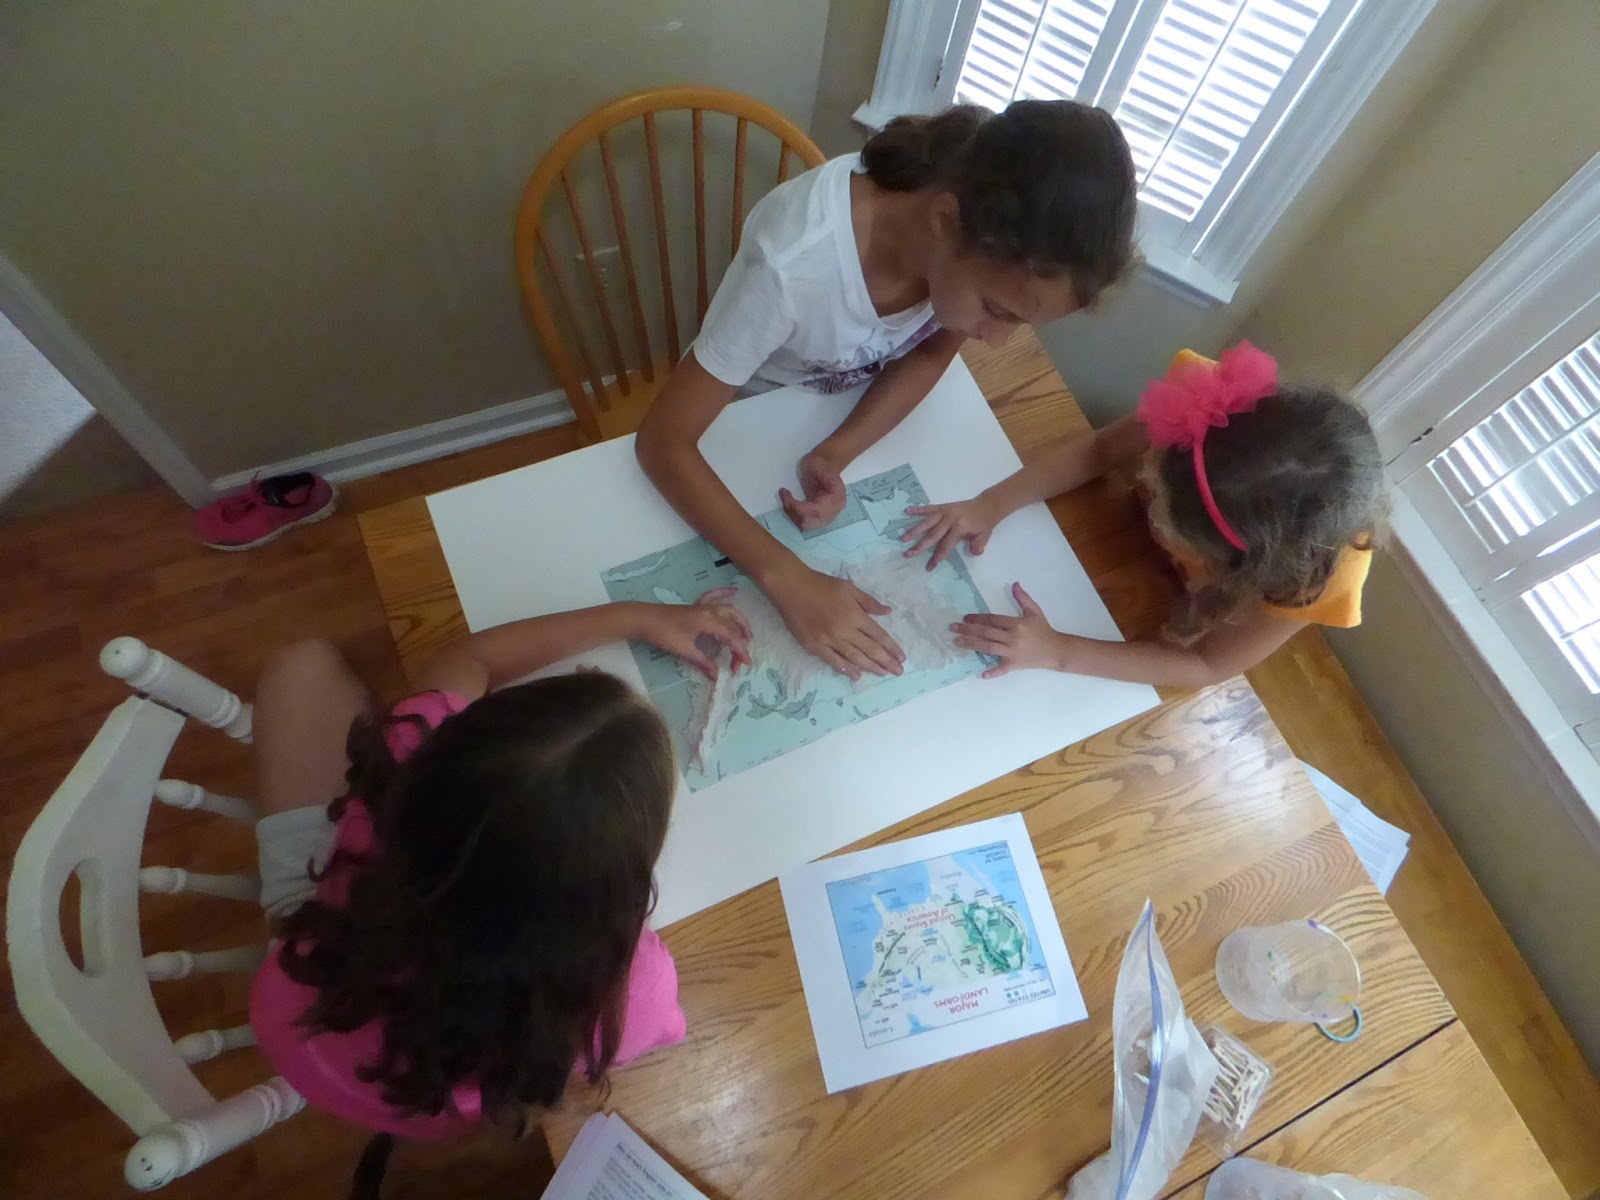
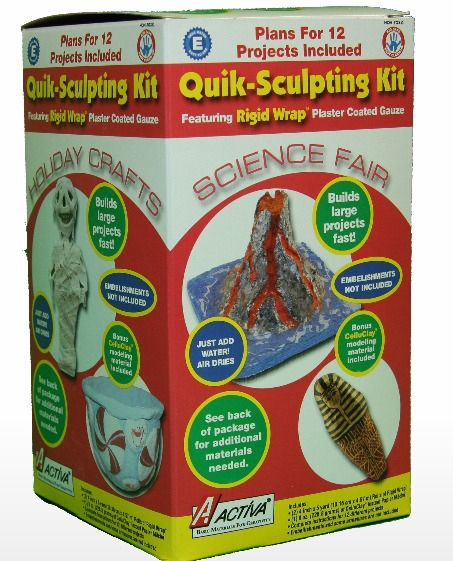
My girls adore hands-on projects. The more the better! I have successfully loosened up over the years and I do try to let them have more hands-on stuff. They were with me when I opened the box from ACTÍVA Products and they were so excited when I pulled out the Rigid Wrap and CelluClay Quik-Sculpting Kit. The package looks like so much fun and they quickly began deciding on which project they wanted to work.
I was excited to see the project ideas included in the free e-book, ACTÍVA Products’ Favorite Sculpture KIDS CRAFTS. There are 12 absolutely gorgeous projects, something for every age. The photographs are stunning and the directions are clear and concise. I would feel very comfortable giving the supplies and instructions to my oldest two daughters (10 and 12) to make on their own. My 7-year-old definitely needs more supervision and guidance, but she could definitely manage any of these projects as well.

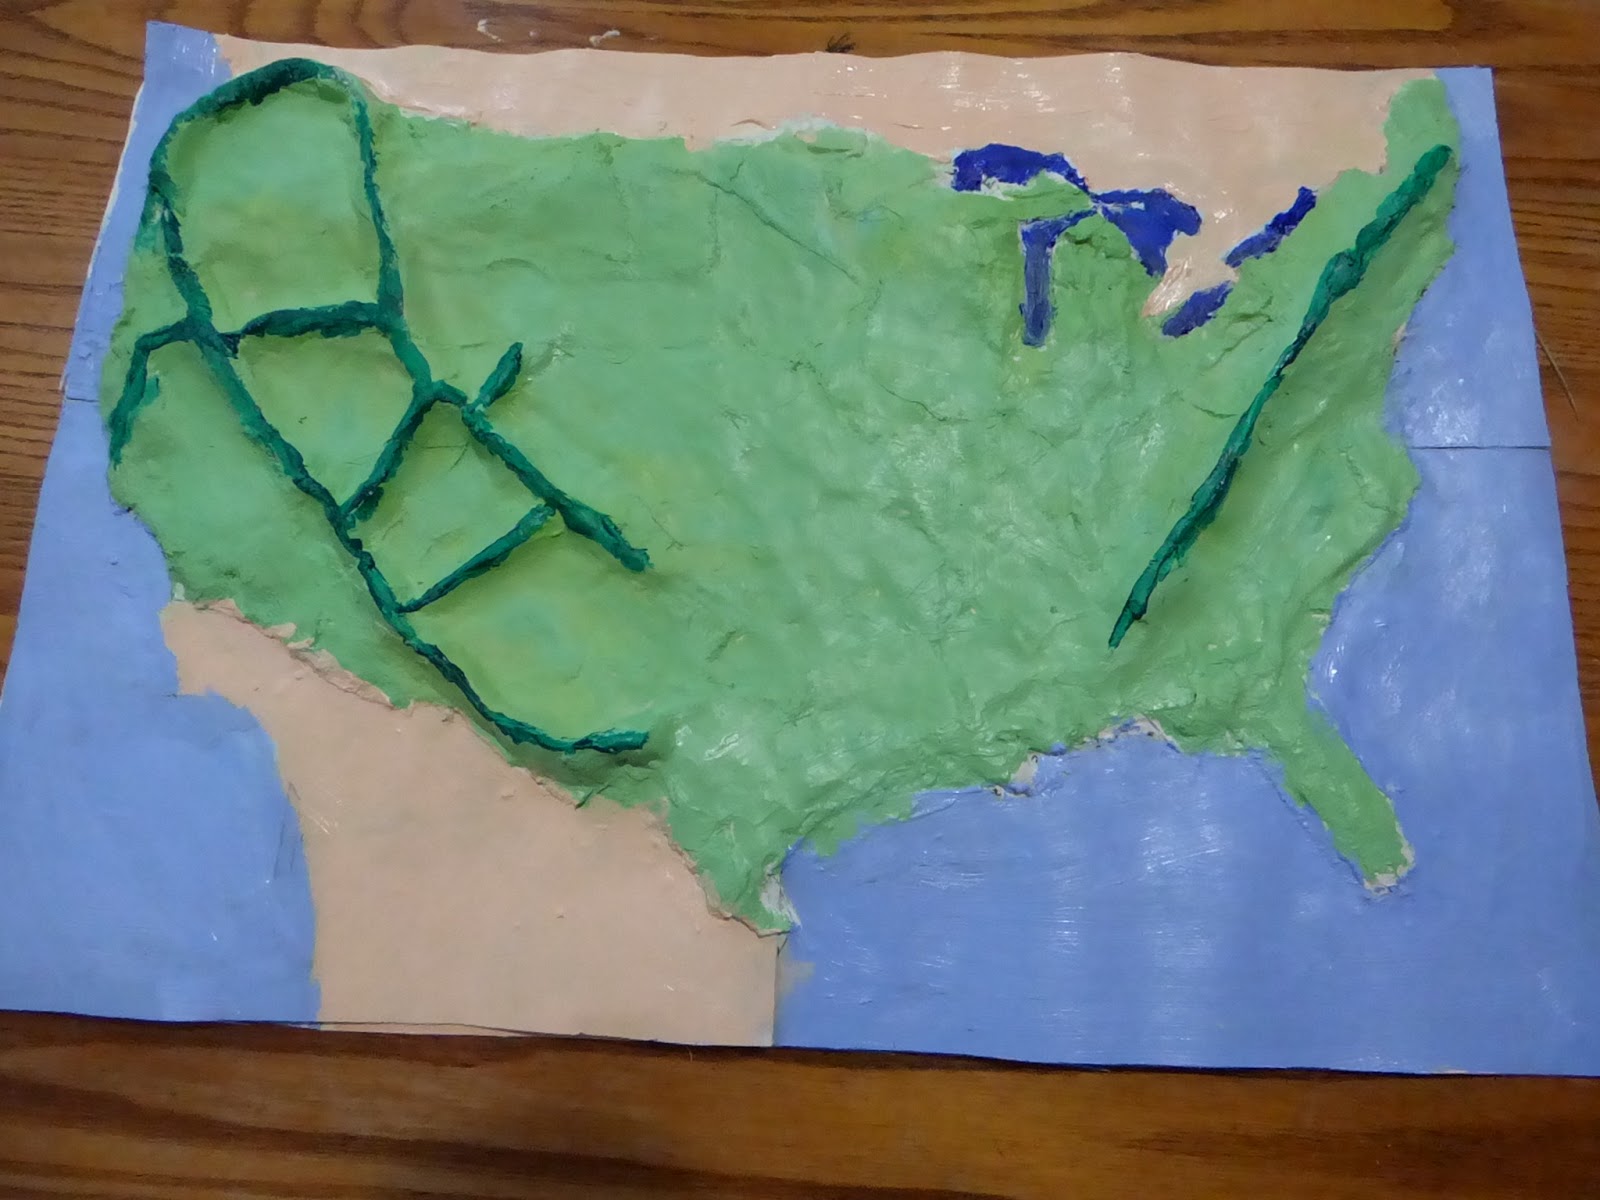
As amazing as all of these were I decided to deviate from the suggestions and we did our own creation to go along with our study of the United States this summer. As we learn the regions of America and the states which are in them, I thought it would be a great idea to give them a chance to make a topographical map. I felt very confident in doing this because have used Rigid Wrap before to make Egyptian Mummy Masks. Having worked with the material before I knew exactly what to expect.
Be prepared that while this is a lot of fun, it can be a little messy. You’ll mostly just be dealing with the dust upon opening and while handling the clay and rigid wrap. The amount of mess will also depend on the age of your kids. When we used this 2 years ago it was a MUCH messier ordeal than it was this time around! I had never worked with the CelluClay, but it was also easy to manage even if a little messy.
To mix the CelluClay I had Rose measure a cup of water into a zip-lock bag and then I added a cup of the dry mixture. This was also a bit messy and the measuring process should be handled by older children or adults. Once in the bag we squished it to mix it. I felt this would be easier and less gooey than trying to do it ourselves with a spoon or our hands. Like I said, I’m not really into being messy!
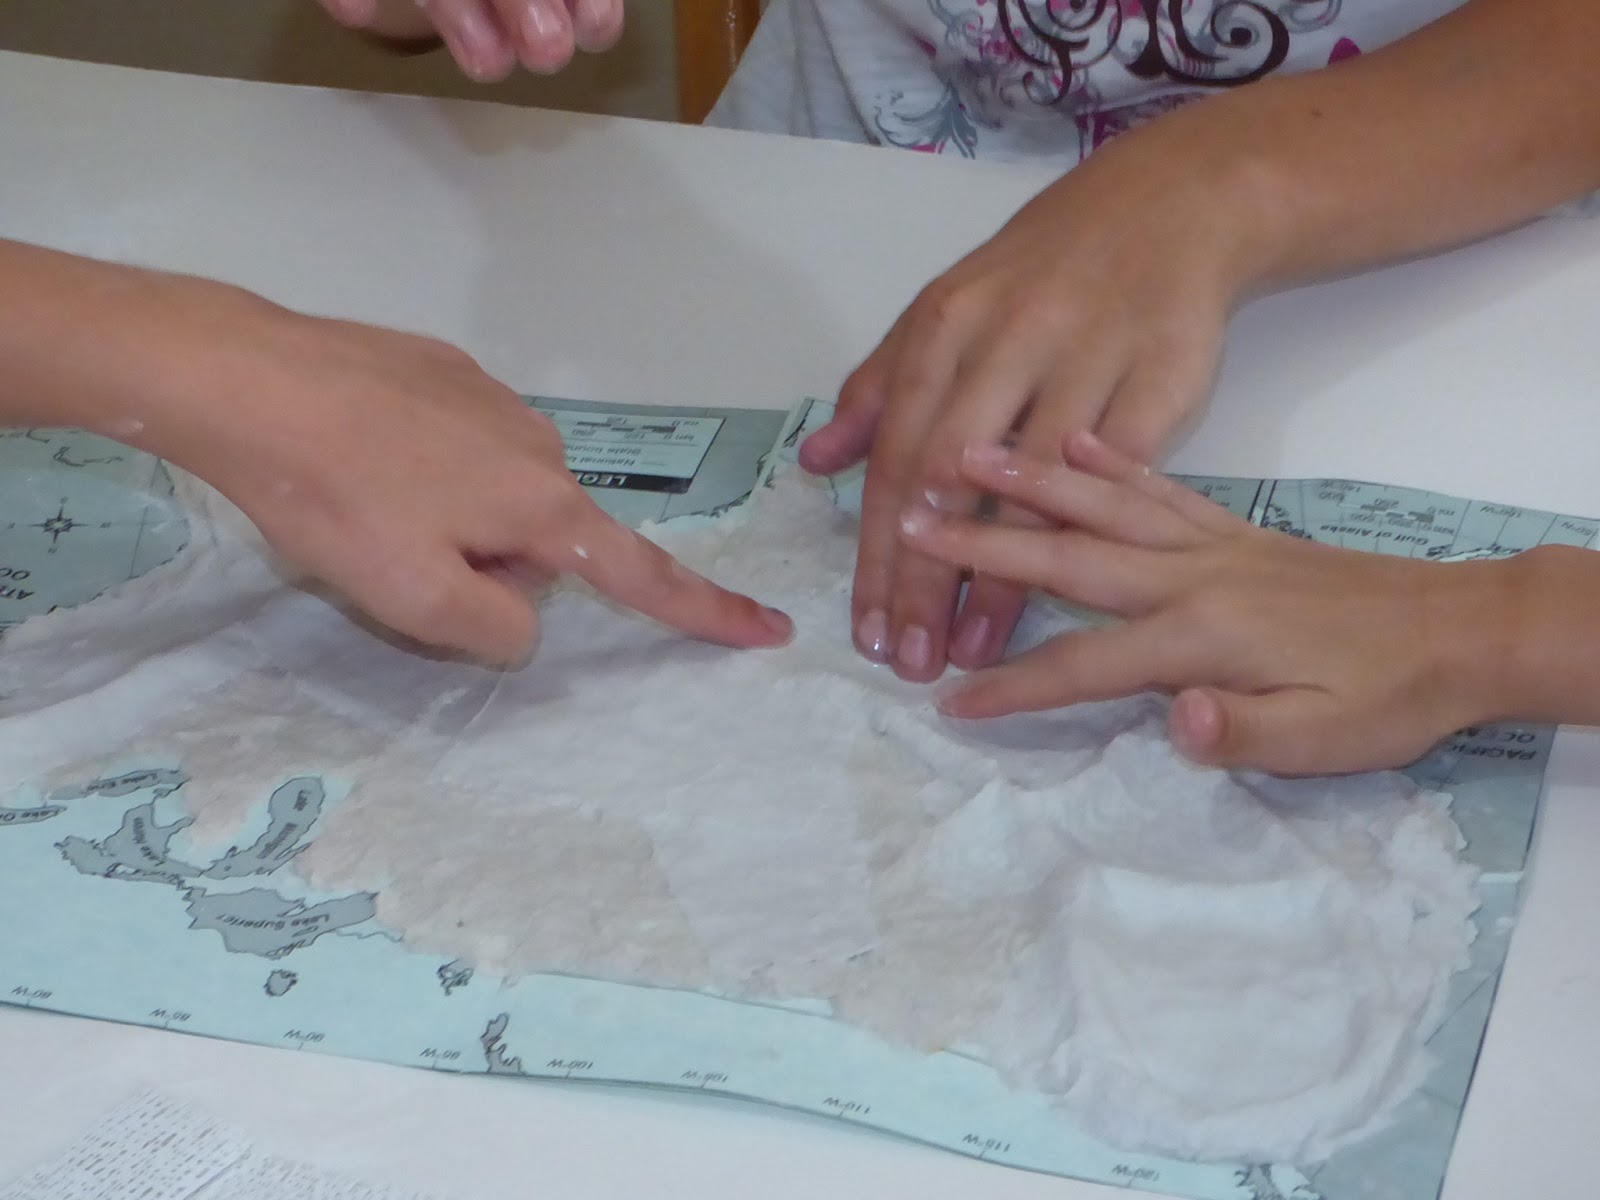
One of the keys with the rigid wrap product is to use just the right amount of water. Too much and you will just have a glop of gooey, sticky mess which is really hard to work with. Too little and it won’t stick. I cut it into smaller strips for the girls and they would let me know if they needed something bigger or smaller. We found it worked really well to quickly dip the first layers in water. When applying the next layers it was adequate to place it, then dip our fingers in water to smooth out the holes.
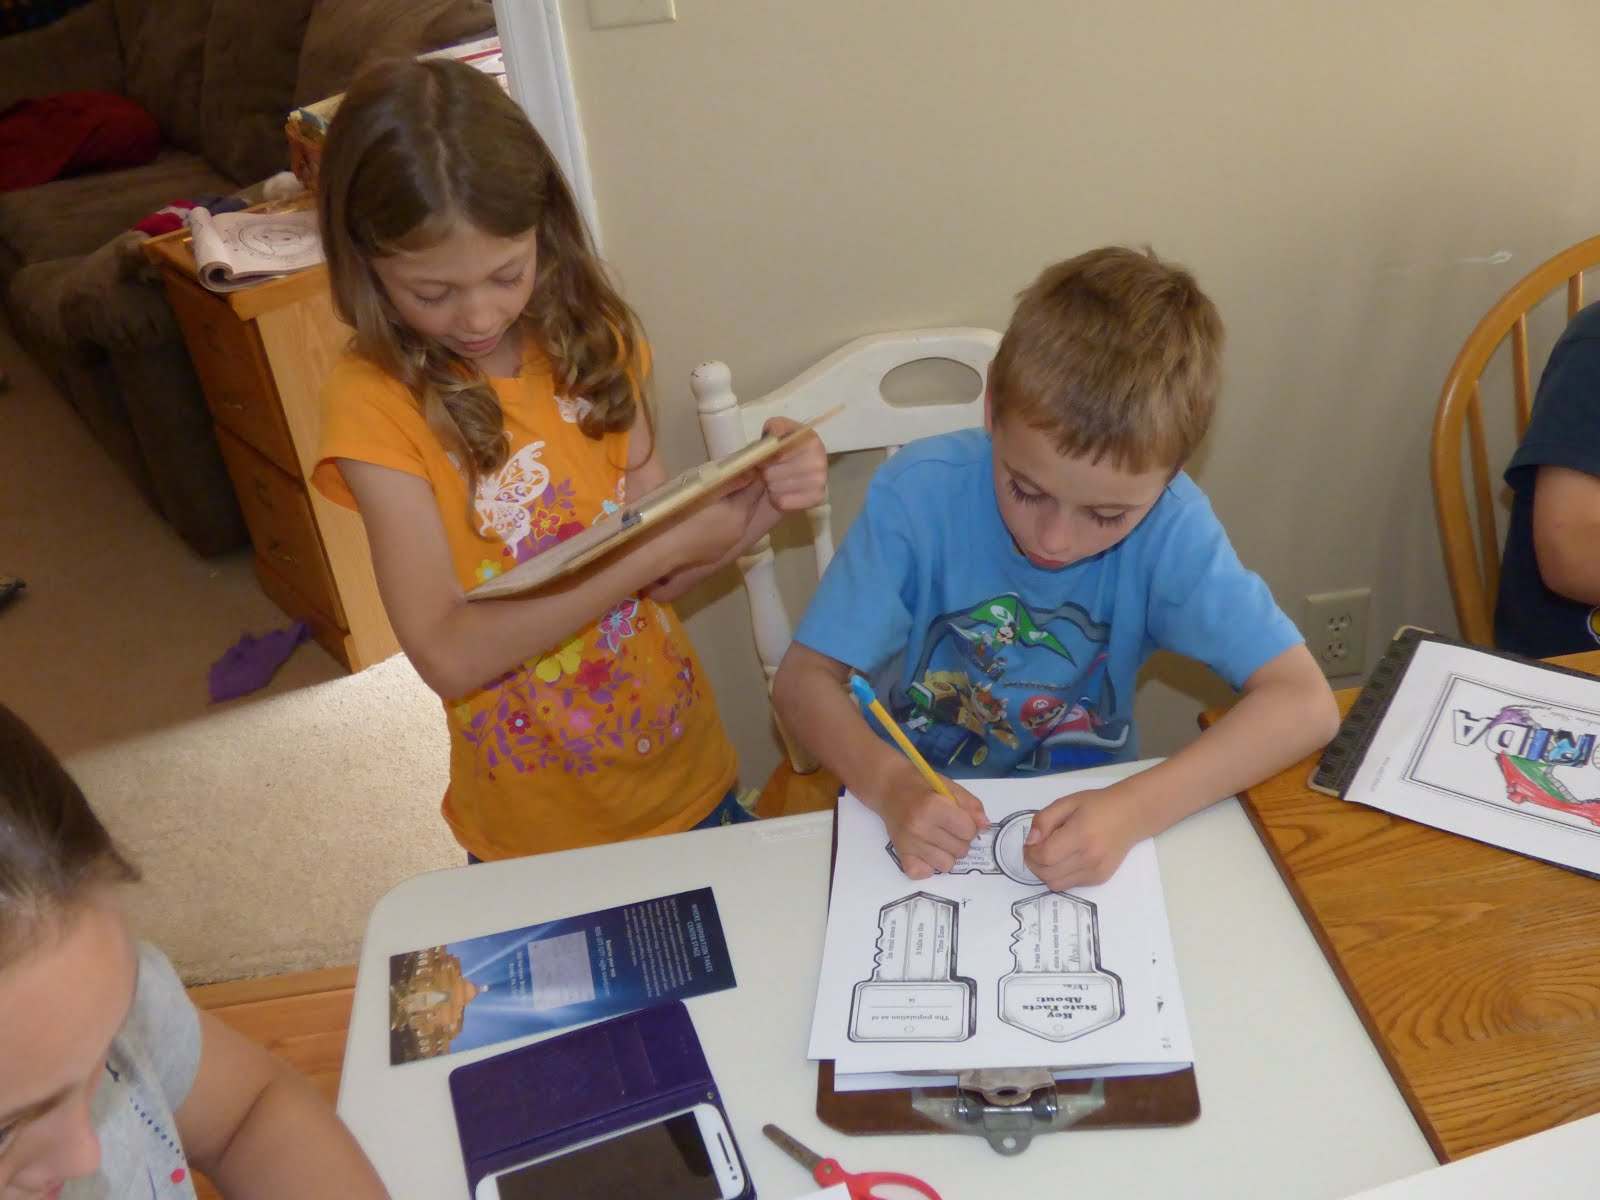
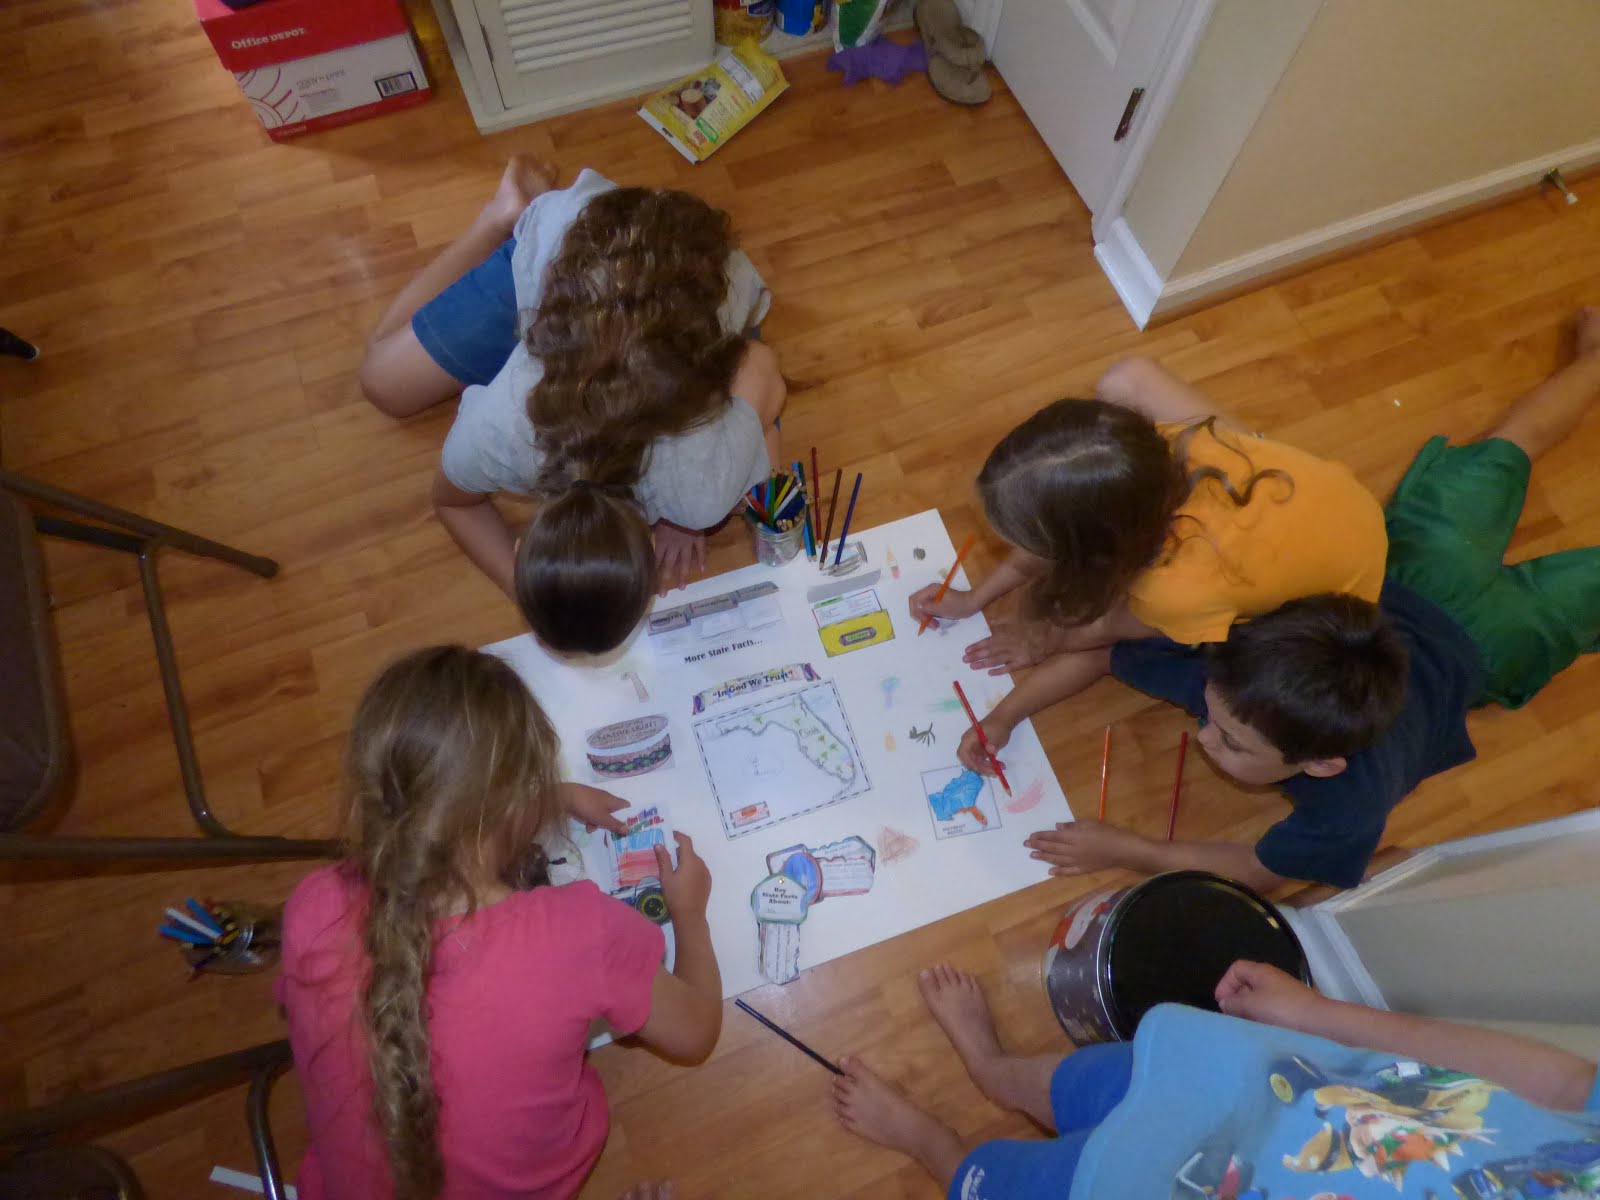
Here are some pictures of our project in progress!